
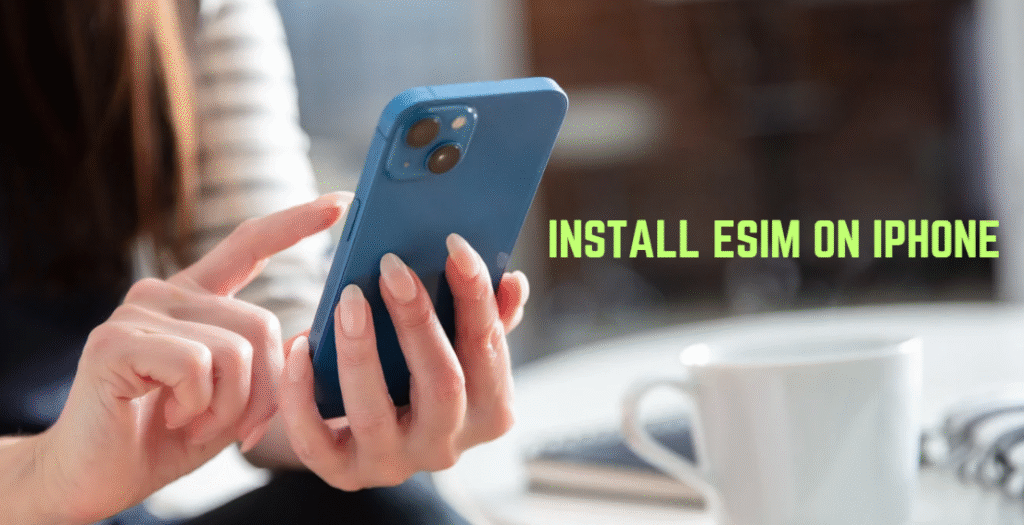
Switching to an eSIM on iPhone is easier than you think. It’s quick, secure, and saves you the trouble of carrying physical SIM cards. If you travel often or want multiple numbers on the same device, eSIM is the best solution.
In this guide, I’ll show you how to install eSIM on iPhone step by step. I’ll also share useful tips to make sure you activate it without any issues.
What is an eSIM and Why Use It on iPhone?
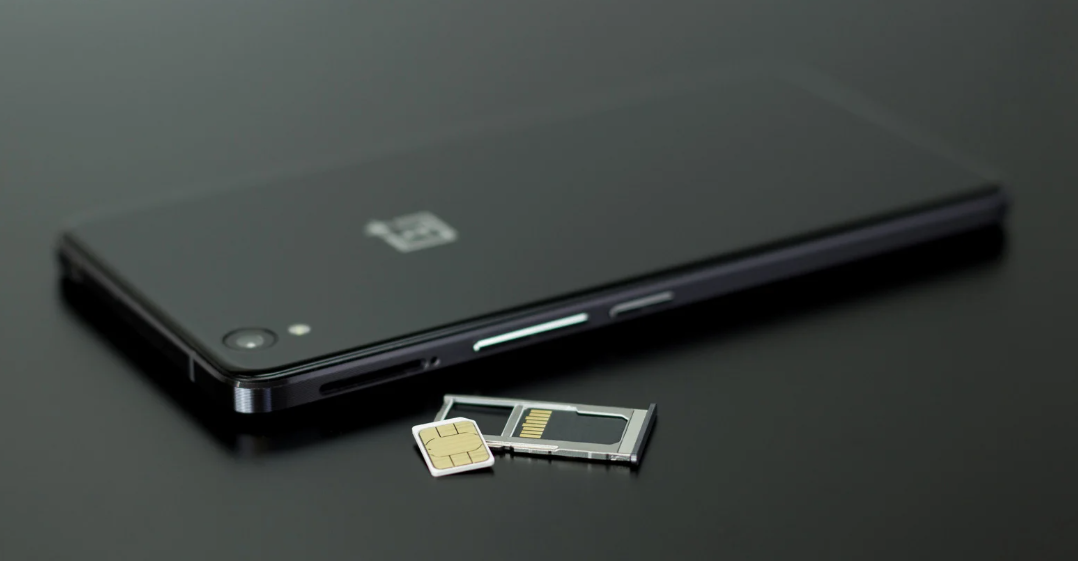
An eSIM (embedded SIM) is a digital version of your regular SIM card. It’s built inside your iPhone. You don’t need to insert or swap a physical SIM anymore.
Why is it better?
No more losing SIM cards
Switch between carriers easily
Perfect for international travel
Supports dual SIM (one physical + one eSIM or two eSIMs on newer models)
Apple started adding eSIM support from the iPhone XS series. If you have a recent iPhone, chances are you can use an eSIM.
Which iPhones Support eSIM?
-
iPhone XS, XS Max, XR
-
iPhone 11 series
-
iPhone 12 series
-
iPhone 13 series
-
iPhone 14 series (USA models are eSIM-only)
-
iPhone 15 series
How to Install eSIM on iPhone (Step by Step)
There are three ways to install eSIM on iPhone:
Using a QR code from your carrier
Manual entry
Carrier app installation
Let’s go through each one.
Method 1: Install eSIM on iPhone Using QR Code
This is the most common and easiest way to install an eSIM. Here’s how:
Step 1: Connect your iPhone to Wi-Fi. You need internet for setup.
Step 2: Open Settings > Cellular > Add Cellular Plan.
Step 3: Use your iPhone camera to scan the QR code provided by your carrier.
Step 4: Wait for the plan to activate. It usually takes a few seconds.
Step 5: Choose Primary or Secondary Line if you use Dual SIM.
That’s it. Your eSIM is now ready to use.
Method 2: Install eSIM on iPhone Manually
If you don’t have a QR code, you can enter details manually:
Step 1: Go to Settings > Cellular > Add Cellular Plan.
Step 2: Select Enter Details Manually.
Step 3: Type in the SM-DP+ address, activation code, and confirmation code from your carrier.
Step 4: Tap Next and wait for activation.
This is useful when QR code scanning doesn’t work.
Method 3: Install eSIM Using Carrier App
Some carriers let you install eSIM through their app. For example, AT&T, T-Mobile, and Verizon have this feature.
Step 1: Download your carrier’s app from the App Store.
Step 2: Sign in to your account.
Step 3: Look for Set up eSIM or Add a new line.
Step 4: Follow the on-screen instructions.
This method is easy if you prefer doing everything in one app.
How to Activate eSIM on iPhone After Installation
Once you’ve installed an eSIM on your iPhone, you need to activate it so you can start using it for calls, texts, and data. The process is simple and takes just a few steps:
Step 1: Open Cellular Settings
Go to Settings on your iPhone.
Tap Cellular (or Mobile Data in some regions).
Step 2: Check Your Plans
Under Cellular Plans, you will see your new eSIM listed.
Make sure the toggle next to your eSIM plan is ON.
Step 3: Choose Primary or Secondary Line
If you are using Dual SIM (one physical SIM and one eSIM), you need to set how you want to use each plan:
Primary – For calls, SMS, and data
Secondary – For work or travel line
You can name them as Personal, Work, or Travel to avoid confusion.
Step 4: Set Your Default Line
Go to Settings > Cellular > Default Voice Line.
Pick the plan you want for calls and SMS.
Step 5: Choose Data Line
Go to Settings > Cellular > Cellular Data.
Select the plan you want to use for mobile data.
If you want to allow both lines to use data, enable Allow Cellular Data Switching.
Step 6: Restart if Needed
Sometimes, a quick restart helps complete the activation. After reboot, check if the network bars show up for your eSIM.
Once these steps are done, your eSIM is active and ready to use.
How to Transfer Physical SIM to eSIM on iPhone
Step 1: Make Sure Your iPhone Supports eSIM
iPhone XS and newer models support eSIM.
Check if your carrier allows Convert to eSIM.
Step 2: Open Cellular Settings
Go to Settings on your iPhone.
Tap Cellular (or Mobile Data).
Step 3: Select Convert to eSIM
Under your current Physical SIM plan, look for Convert to eSIM.
If you don’t see this option, your carrier may not support it yet.
Step 4: Follow On-Screen Instructions
Tap Convert to eSIM.
Wait while your iPhone contacts the carrier and converts the SIM.
Step 5: Remove Physical SIM
Once the eSIM is activated, remove your physical SIM from the tray.
Step 6: Restart if Needed
A quick restart may be required to complete activation.
How to Remove or Delete an eSIM on iPhone
Step 1: Open Settings
Unlock your iPhone and go to Settings.
Step 2: Go to Cellular Settings
Tap Cellular (or Mobile Data in some regions).
Step 3: Select the eSIM Plan to Delete
Under Cellular Plans, find the eSIM you want to remove.
Tap on the plan name.
Step 4: Delete the eSIM
Scroll down and tap Delete eSIM.
Confirm your choice when asked.
Step 5: Restart if Needed
Your iPhone may restart to apply changes.
Troubleshooting eSIM Installation Issues on iPhone
1. Check iPhone Compatibility
First, make sure your iPhone supports eSIM. Models from iPhone XS and newer generally support it. Some older or carrier-locked phones might not allow eSIM activation. Confirm with your carrier before proceeding.
2. Verify Carrier Support
Not all carriers support eSIM. If your eSIM plan isn’t activating, check whether your carrier allows eSIMs and if your plan is eligible. Sometimes you need to request a fresh QR code from the carrier.
3. Update iOS
Outdated iOS versions can cause activation errors. Go to Settings > General > Software Update and install any available updates. After updating, try activating the eSIM again.
4. Restart Your iPhone
Many issues are fixed with a simple restart. Turn your iPhone off, wait a few seconds, and turn it back on. Then check if the eSIM plan shows up and is active.
5. Check QR Code or Activation Details
If you’re scanning a QR code, make sure it’s valid and hasn’t expired. For manual setups, double-check the SM-DP+ address, activation code, and confirmation code. Even a small typo can prevent activation.
6. Reset Network Settings
If the eSIM still doesn’t activate, try resetting network settings. Go to Settings > General > Transfer or Reset iPhone > Reset > Reset Network Settings. This clears old network data and can fix activation problems. Note that Wi-Fi passwords will need to be re-entered afterward.
7. Contact Your Carrier
If none of the steps work, contact your carrier. They can check your eSIM plan and provide support, including sending a new activation QR code if needed.
Finally
Installing an eSIM on iPhone is easy once you know the steps. Just scan a QR code, enter details, or use your carrier app. No more carrying tiny SIM cards. If you travel a lot or need a second number, eSIM is a lifesaver.
Thanks for reading